For security reasons browsers do not allow this, i.e. JavaScript in browser has no access to the File System, however using HTML5 File API, only Firefox provides a mozFullPath property, but if you try to get the value it returns an empty string.

However you can get other information’s about the uploaded file such as filename, lastmodifieddate, size of the file(in bytes) and file type as well.
Below is the output of a selected icon image file information.
lastModified: 1666358381904
lastModifiedDate: Fri Oct 21 2022 18:49:41 GMT+0530 (India Standard Time) {}
name: “favicon.ico”
size: 15406
type: “image/x-icon”
webkitRelativePath: “”
In the above example output you can see javascript have returned some information but the webkiteRelativePath is blank it’s because of security reasons(so no body can cause issue in client side fileSystem).
Below is the the full code for getting auto generated fake path , name of the uploaded file and all required file information using javascript.
We’ve split code into two section first section have the all html code which have our input to select any file from our fileSystem, and other half code is the JavaScript code for handling the reading file information data and displaying on page and as well in console.
HTML
<!DOCTYPE html>
<html lang="en">

<head>
    <meta charset="UTF-8">
    <meta http-equiv="X-UA-Compatible" content="IE=edge">
    <meta name="viewport" content="width=device-width, initial-scale=1.0">
    <title>Get Selected File Path Using JavaScript</title>
    <style>
        .center-component {
            font-family: arial;
            font-size: 24px;
            margin: 25px;
            text-align: center;
        }
    </style>
</head>

<body>
    <div class="center-component">
        <h1>Upload File</h1>
        <input type="file" id="file" name="file" onchange="trigger(event)">
        <p id="fileName"></p>
        <p id="fullPath"></p>
    </div>

</body>

</html>
JavaScript
function trigger(event) {
    let file = event.target.value;
    let fileName = document.getElementById("fileName");
    let fullPath = document.getElementById("fullPath");

    let filename = file.replace(/^.*[\\\/]/, '')

    fullPath.innerHTML = `<span> File Full Path: ${file}</span>`;
    fileName.innerHTML = `<span> File Name: ${filename}</span>`;
    const files = event.target.files;
    console.log(files);
}
As you can see the trigger function we’re using event parameter and calling this function on the event of onchange so it trigger function can update information each time.

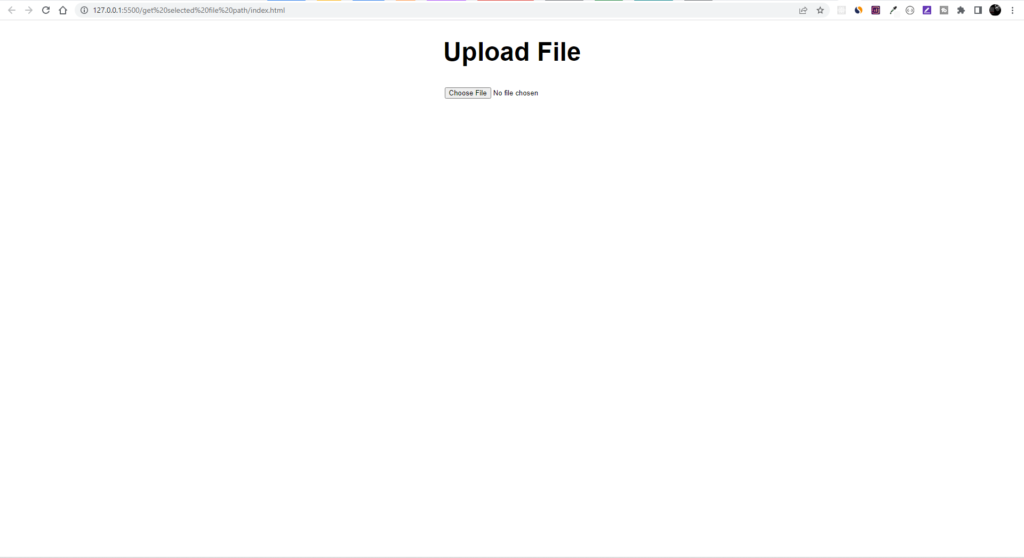
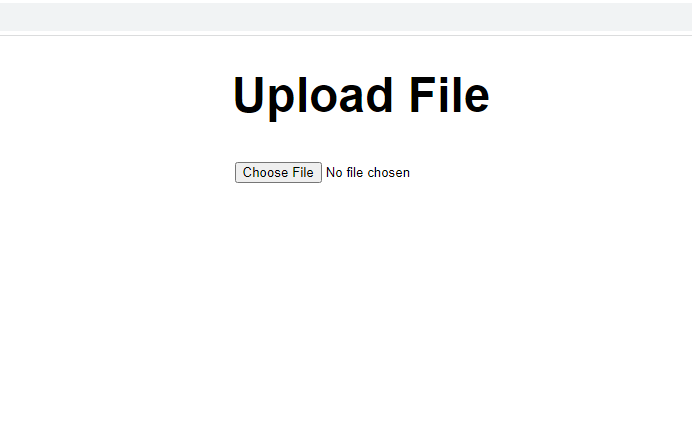
Once you run the html file into browser you’ll see the step 1 in your browser.

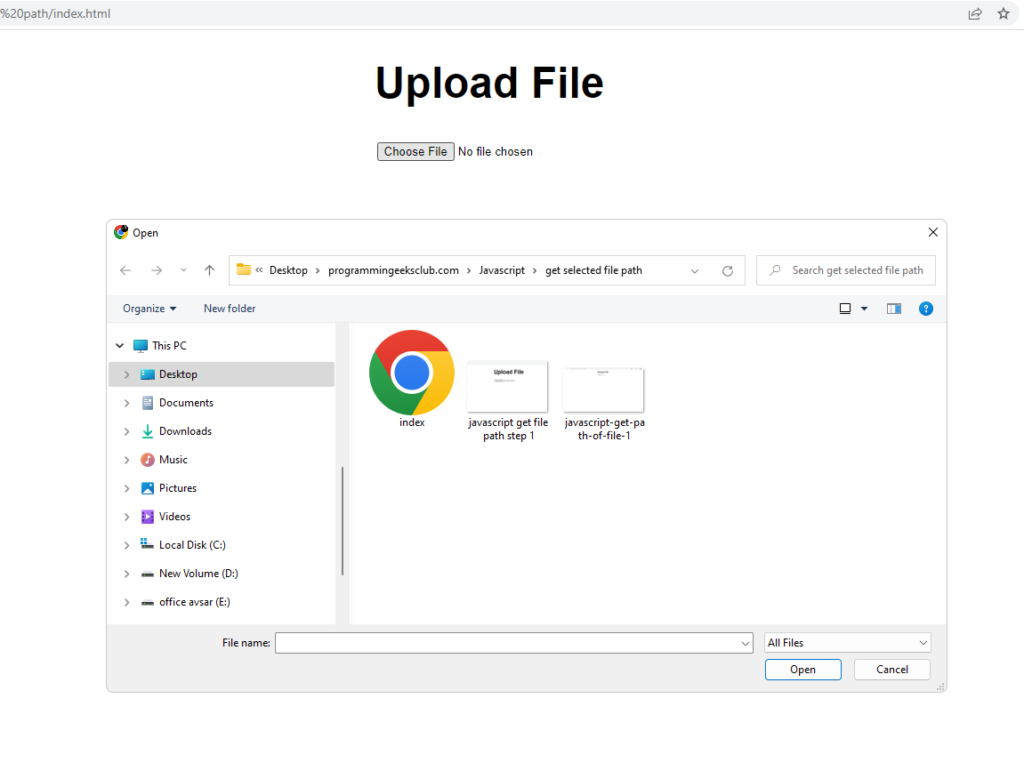
In the second step you clicked on the Choose File button and then a new window appears like this where you’ll choose the file you want to select, to get the information about.

Once you select any file then an event happens in background and will update your screen like in step 3, you can also check the file information in you console
For opening console right click on the browser window and select inspect and then select Console.
Full Code
<!DOCTYPE html>
<html lang="en">

<head>
    <meta charset="UTF-8">
    <meta http-equiv="X-UA-Compatible" content="IE=edge">
    <meta name="viewport" content="width=device-width, initial-scale=1.0">
    <title>Get Selected File Path Using JavaScript</title>
    <style>
        .center-component {
            font-family: arial;
            font-size: 24px;
            margin: 25px;
            text-align: center;
        }
    </style>
</head>

<body>
    <div class="center-component">
        <h1>Upload File</h1>
        <input type="file" id="file" name="file" onchange="trigger(event)">
        <p id="fileName"></p>
        <p id="fullPath"></p>
    </div>


    <script>
        function trigger(event) {
            let file = event.target.value;
            let fileName = document.getElementById("fileName");
            let fullPath = document.getElementById("fullPath");

            let filename = file.replace(/^.*[\\\/]/, '')

            fullPath.innerHTML = `<span> File Full Path: ${file}</span>`;
            fileName.innerHTML = `<span> File Name: ${filename}</span>`;
            const files = event.target.files;
            console.log(files);
        }
    </script>
</body>

</html>
your comments are appreciated and if you wants to see your articles on this platform then please shoot a mail at this address kusingh@programmingeeksclub.com
Thanks for reading 🙂
