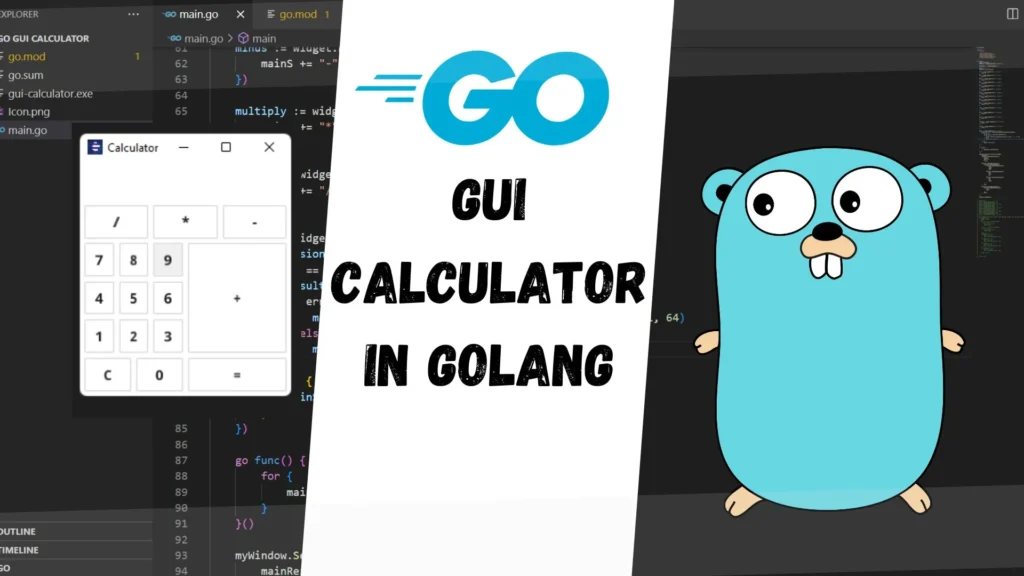
In this article you will learn, how you can build a calculator from scratch. We’ll focus on the Go and it’s Fyne package which helps to create GUI based application for every operating system even for mobile so if you want to learn more about Fyne or if you are new to Go then you need to cover Go and Fyne first.
Packages used
The packages we are going to use in this program are mentioned below:
- Fyne for creating GUI and it’s all Components
- GoValuate provides support for evaluating arbitrary C-like artithmetic/string expressions so we can get the result of used expression.
Fyne Package
Fyne is an easy-to-use UI toolkit and app API written in Go. It is designed to build applications that run on desktop and mobile devices with a single codebase.
To develop apps using Fyne you will need Go version 1.14 or later, a C compiler and your system’s development tools. If you’re not sure if that’s all installed or you don’t know how then check out Getting Started document.
Using the standard go tools you can install Fyne’s core library using:
$ go get fyne.io/fyne/v2
Even you can run a mobile simulation as well for your created application in Fyne. Command is mentioned below:
$ go run -tags mobile main.go
Using go install will copy the executable into your go bin dir. To install the application with icons etc into your operating system’s standard application location you can use the fyne utility and the “install” subcommand.
$ fyne install
Code Writing
package main

import (
    "strconv"

    "fyne.io/fyne/v2/app"
    "fyne.io/fyne/v2/container"
    "fyne.io/fyne/v2/widget"
    "github.com/Knetic/govaluate"
)

func main() {
    myApp := app.New()
    myWindow := myApp.NewWindow("Calculator")

    mainResult := widget.NewLabel("")

    mainS := ""
    mainResult.SetText(mainS)

    one := widget.NewButton("1", func() {
        mainS += "1"
    })
    two := widget.NewButton("2", func() {
        mainS += "2"
    })
    three := widget.NewButton("3", func() {
        mainS += "3"
    })
    four := widget.NewButton("4", func() {
        mainS += "4"
    })
    five := widget.NewButton("5", func() {
        mainS += "5"
    })
    six := widget.NewButton("6", func() {
        mainS += "6"
    })
    seven := widget.NewButton("7", func() {
        mainS += "7"
    })
    eigth := widget.NewButton("8", func() {
        mainS += "8"
    })
    nine := widget.NewButton("9", func() {
        mainS += "9"
    })
    zero := widget.NewButton("0", func() {
        mainS += "0"
    })

    clear := widget.NewButton("C", func() {
        mainS = ""
    })

    plus := widget.NewButton("+", func() {
        mainS += "+"
    })

    minus := widget.NewButton("-", func() {
        mainS += "-"
    })

    multiply := widget.NewButton("*", func() {
        mainS += "*"
    })

    divide := widget.NewButton("/", func() {
        mainS += "/"
    })

    #fourth
    equal := widget.NewButton("=", func() {
        expression, err := govaluate.NewEvaluableExpression(mainS)
        if err == nil {
            result, err := expression.Evaluate(nil)
            if err == nil {
                mainS = strconv.FormatFloat(result.(float64), 'f', -1, 64)
            } else {
                mainS = err.Error()
            }
        } else {
            mainS = err.Error()
        }
    })

    #five updating it each time
    go func() {
        for {
            mainResult.SetText(mainS)
        }
    }()

    #creating layout from the given buttons
    myWindow.SetContent(container.NewVBox(
        mainResult,
        container.NewGridWithColumns(3,
            divide,
            multiply,
            minus,
            // plus,
        ),
        container.NewGridWithColumns(2,
            container.NewGridWithRows(3,
                container.NewGridWithColumns(3,
                    seven,
                    eigth,
                    nine,
                ),
                container.NewGridWithColumns(3,
                    four,
                    five,
                    six,
                ),
                container.NewGridWithColumns(3,
                    one,
                    two,
                    three,
                ),
            ),
            plus,
        ),
        container.NewGridWithColumns(2,
            container.NewGridWithColumns(2,
                clear,
                zero,
            ),
            equal,
        ),
    ),
    )
    myWindow.ShowAndRun()
}
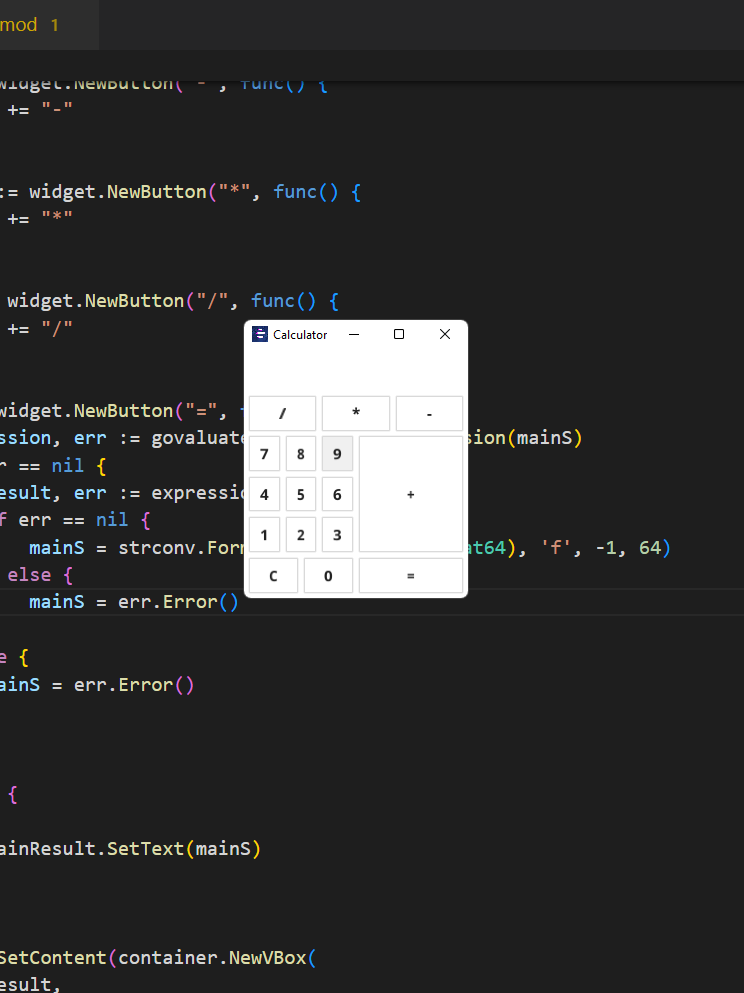
In the above code first we created an app and then in that app we created a window which will going to have our calculator UI.
We created a label called mainResult which is going to show us the each input data, then we created another variable called mainS which is a blank string as of now but it’s going to hold all the expressions so we can pass it to Evaluate function for our final result of the expression.
In third block we have created all the required buttons and have given each it’s value as well.
Forth block is important , In this block we are using the third party package GoValuate functions so we can get the final output of the passed expression e.g. (1 + 2 + 3 / 2 – 1) we can even get the sum of this expression as well, that’s why we are using GoValuate package.
In fifth block we have a goroutine which is using a for loop so we can update screen data each time whenever we hit any button in calculator.
In the last block we are creating the layout of our calculator.


Use the mentioned commands to generate a ready application icon for any operating system but one more thing, you might need a PNG image as well for generating a system ready icon if you don’t have then it’ll fail to generate a icon.
Use below mentioned command to generate ICON
#use this command if PNG image is in the same directory
$ fyne install
#use this command if PNG image is not in the same directory
$ fyne install –icon ‘path/to/your/icon/Icon.png’
your comments are appreciated and if you wants to see your articles on this platform then please shoot a mail at this address kusingh@programmingeeksclub.com
Thanks for reading 🙂

Pingback: Golang GUI Hesaplayıcı – DEV Community 👩💻👨💻 – Dandp
Pingback: Golang GUI Calculator – DEV Group 👩💻👨💻
Pingback: Калькулятор GUI Golang - Сообщество разработчиков 👩💻👨💻 • SOS X